We will now turn our attention to another popular software title- Microsoft Publisher. This program is called a desktop publishing program, since it can allow you to create documents which are similar to those which are professionally published.
To start the program, click on this icon from the Start-Programs menu:
![]()
The program will start and you will get a similar screen:
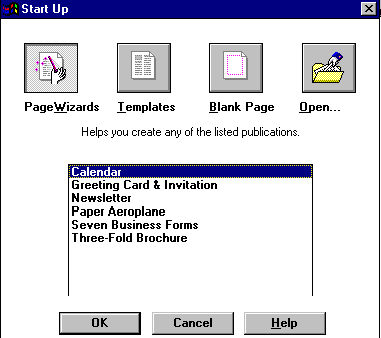
From this opening screen you can create a document, such as a Calendar, Newsletter, etc… automatically using the Page Wizard, which creates your document for you by having you answer some simple and quick questions.
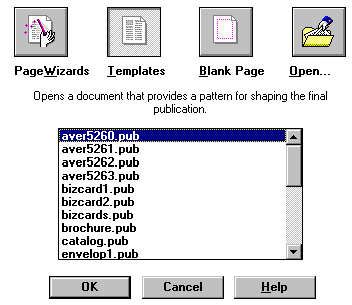
You can also use a template document, which is a document that has already been created, which you can edit to fit your needs:
You can also open an existing Publisher document or create a new one from a blank page:
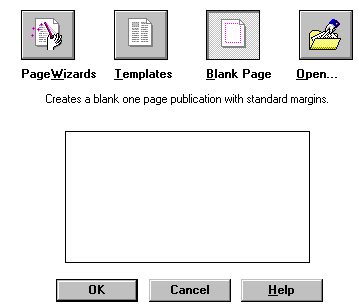
After choosing to create a document from a blank page, you get a similar screen:
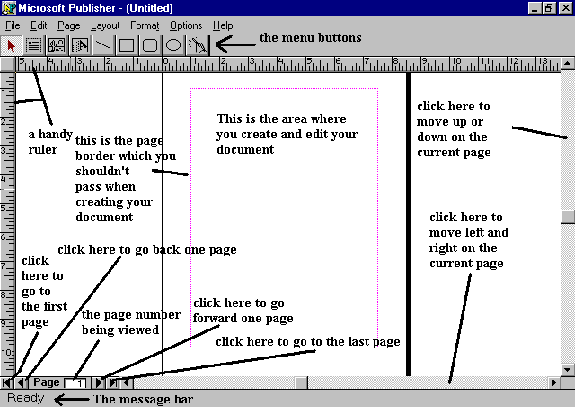
I will attempt to go through Publisher's features by going through the menu buttons:
![]()
![]() - The text button. Click on this button
to create a text frame. The text button will look like this:
- The text button. Click on this button
to create a text frame. The text button will look like this: ![]() . A frame is just a portion of the screen which you designate
using your mouse, where certain items are allowed to be placed. Until now, you were just
able to use a specific amount of the screen for text or graphics, which weren't controlled
directly by you. Using Publisher, you can designate areas of the screen to different
items, such as graphics, text, fancy "wordart" text, geometrical shapes,
etc… To create a frame, after clicking on the text button, move your mouse over the
red outlined portion of the page on your screen. Next click on the left mouse button,
without letting go. Then drag your mouse, that is to move the mouse in any direction you
choose without letting go of the mouse button. When you are satisfied with the frame that
has just appeared on the screen, so that it can satisfy your text requirements for that
page of your document, let go of the mouse button. You have just created a text frame.
. A frame is just a portion of the screen which you designate
using your mouse, where certain items are allowed to be placed. Until now, you were just
able to use a specific amount of the screen for text or graphics, which weren't controlled
directly by you. Using Publisher, you can designate areas of the screen to different
items, such as graphics, text, fancy "wordart" text, geometrical shapes,
etc… To create a frame, after clicking on the text button, move your mouse over the
red outlined portion of the page on your screen. Next click on the left mouse button,
without letting go. Then drag your mouse, that is to move the mouse in any direction you
choose without letting go of the mouse button. When you are satisfied with the frame that
has just appeared on the screen, so that it can satisfy your text requirements for that
page of your document, let go of the mouse button. You have just created a text frame.
*![]() *
*
After you have created your text frame, to the upper right of the screen will appear a similar menu:
![]()
The button to the left allows you to shade the text frame. The next button allows you
to place a highlight around the text frame. The next 4 buttons allow you to choose a text
frame border of different widths.
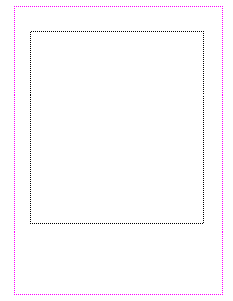
Your text frame will look like this:
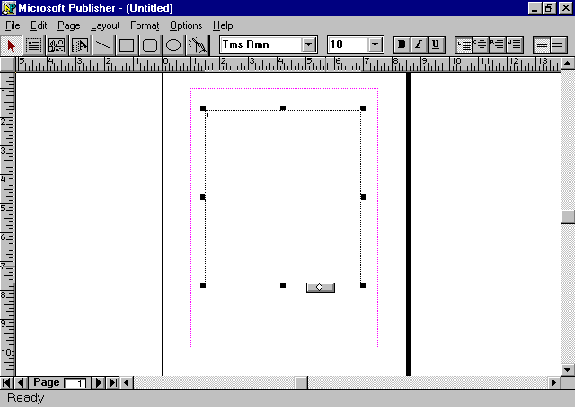
You can enter text into your text frame just as you did in Microsoft Word. First, click anywhere inside the text frame. It will look like this:
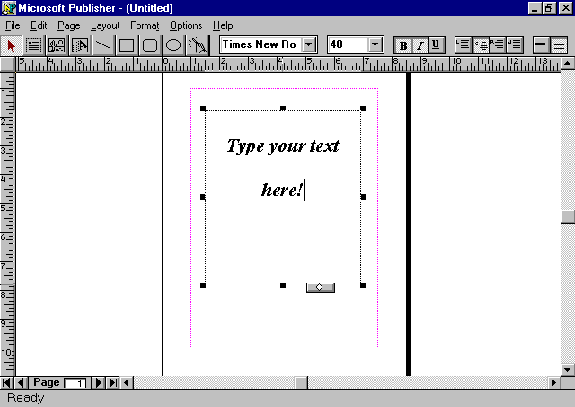
Then choose the font, its size, Bold, Italic, Underline, Left-Center-Right-Justify and single or double-spacing as you require. Then enter in your text as shown in the next picture:
When you bring your mouse over anyone of the black boxes outlining the text frame or any other frame for that matter, you will get one of the following mouse pointers:
![]()
You can move the text frame to another location on your page, resize it vertically,
horizontally or both, or crop it- that is to cut off a portion of the frame and its
contents. We will get back to cropping later.
When you choose either to add a border or a highlighted shadow, the buttons for these options will remain pushed in, as is the text button while typing in text or creating a text frame:
![]()
If you choose to place a shading into your text frame, which will appear behind your text, click on the shading button. You will get the following screen:
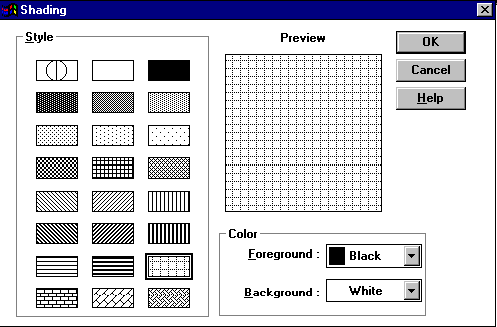
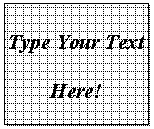
From here, click on the shading you want and then on OK. The following is a sample shaded text frame:
If you enter in text, it will appear in front of the shading after you deselect the text frame, by clicking on any other portion of the white screen except for the text frame.
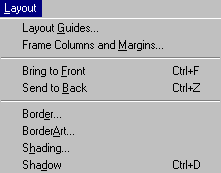
You can also select a border, shading and shadow from the "Layout" menu:
The border menu looks as follows:
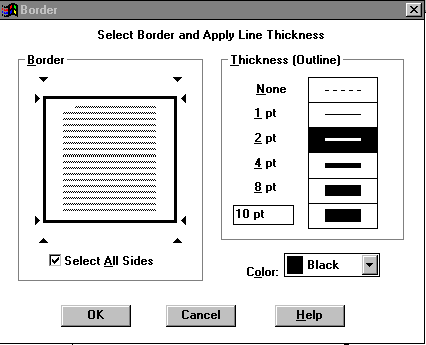
Just click on the width of the border you want from the box on the right as well as
which color the border should appear in. Then select "OK".
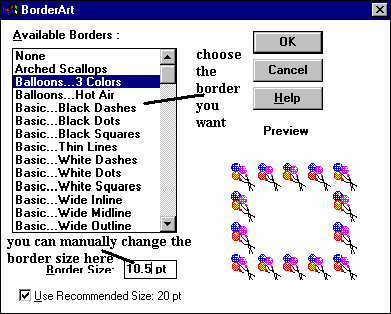
From the Layout menu, you can also choose "Border Art", which are fancy art borders instead of a plain line. From the Border Art menu, you can click on a number of different borders and preview them on the screen. You can also change the width of the border art as well. When you have chosen which border you want and its size, click on "OK".
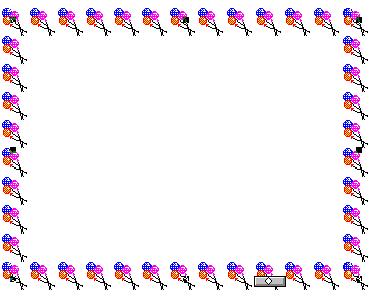
One such selected border art looks as follows around a text frame:
If you add a shadow, it looks as follows (Notice how you can enter in text within the border art):
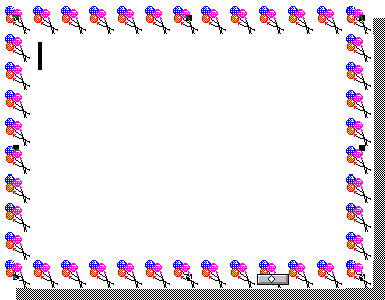
Since not all border art look great with shadow, you can choose another border art or the standard black line which looks as follows:

The purpose of me showing you this is to get across the point, that
"Publishing" is more than just knowing which buttons to push, you have to be
creative and put some creative taste into your document so that it looks good to you and
to others.
Another feature of Microsoft Publisher is the ability to import text from other word processed files (such as a .doc file written with Microsoft Word) into a text frame. This can be done from the "File" menu:
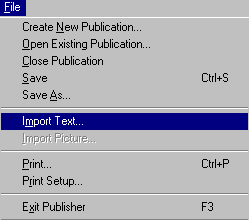
There are many different word processors which Microsoft Publisher is compatible with. In order to import a word processed text file, you need to select your word processor (i.e. Microsoft Works, Microsoft Word, etc…) as shown in the next picture:
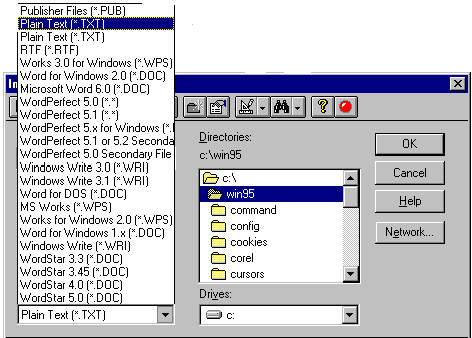
If by chance the text you are importing takes up more space than the text frame you are importing it into, then you will get the following screen:
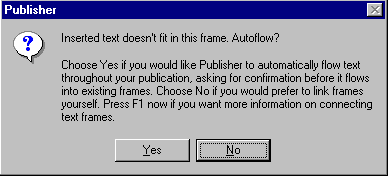
You can choose "Yes" to allow Microsoft Publisher to automatically create another page, with a text frame, where it will insert the text, or you can choose "No", which won't erase the extra text not inserted into the text frame, but it will require you to insert it by either resizing your text frame or by creating another text frame and moving your text to that new text frame.
If you allow Publisher to automatically create a new text frame, your text frame will look like this:
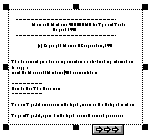
The button with arrows in it lets you know that not all the text is in that frame, but
that the text frame is linked with another text frame either on that page or another page,
and the rest of the text is in that linked text frame.
If you are typing in a report in a text frame and it exceeds the frame's size, or if you choose not to have Publisher add new frames and link them, then you will get a similar type of frame.
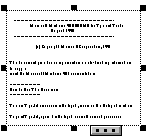
The button with dots in it lets you know that there is additional text not shown in that text frame since the text frame is too small.
To get rid of this, you can either enlarge your text frame, or the following-
Create another text frame either on the same page or a new page.
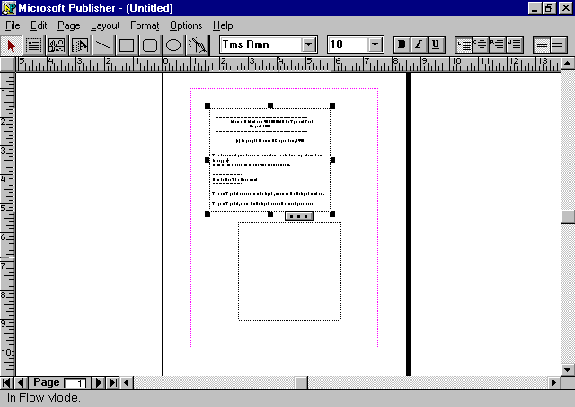
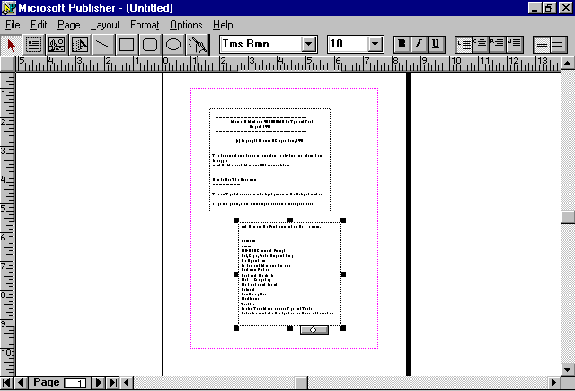
Then click on the button with the dots in it and you will get a coffee cup mouse pointer. Bring that pointer over the new text frame and words will appear to be "flowing" out of the coffee cup. Click the left mouse button within the new text frame. The text that was extra from the old text frame will be placed in the new text frame, and the button with dots in it will now have arrows in it. If the new text frame doesn't contain all of the additional text, then it will have a button with dots in it and you will have to create another text frame and go through the procedure with these two text frames again. If the text frame does contains the rest of the text and there is no more extra, then it will have a button with a white diamond in it as shown in the next picture:
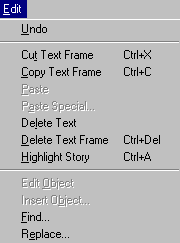
While editing you text, you can choose several options from the "Edit" menu. They include deleting text, copying and pasting text as well as cutting a text frame. You can also undo the last task you performed.
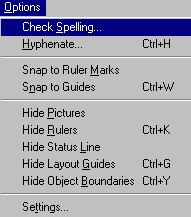
From the "Options" menu you can check the spelling of your text:
We will now return to cropping. Cropping can be enabled by clicking on the crossed right angles button:
![]()
Your mouse pointer will now look like the crossed right angles button when brought over
a black box surrounding a frame.
We will learn how to crop using clipart. Clipart are pictures which can be inserted
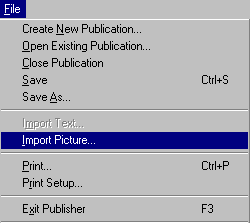
into your document, To do so, click on the ![]() button. Then create a clipart frame on your page just as you did for text. When you are
done, go to the file menu and choose "Import Picture":
button. Then create a clipart frame on your page just as you did for text. When you are
done, go to the file menu and choose "Import Picture":
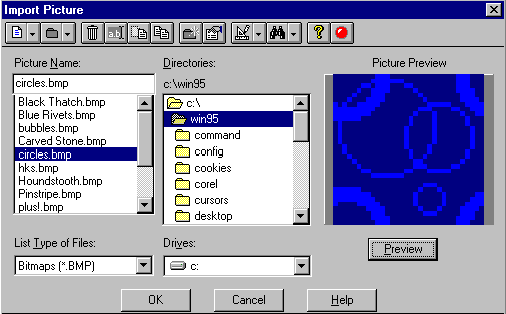
Locate a clipart/graphic/picture (they are all the same word) file on your computer. Here, I chose c:\win95\circles.bmp.
Graphic files compatible with Microsoft Publisher end with the following file types:
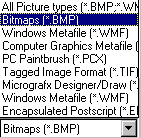
You have to choose which file type your graphic is before you can import it, so that Publisher knows what type it is importing.
Once done, you get a similar graphic frame:
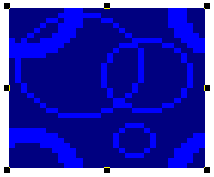
To utilize cropping, I will attempt to cut off the button portion of the graphic. To do this, click on the cropping button and then move the mouse pointer over the lower middle black box. Then click on the box and hold the mouse button down. Drag the mouse upwards until you are satisfied with the amount you are cutting off. Let go when you are done. A sample cropped graphic will looks as follows:

To shut off cropping, just re-click on the crossed right angles.
![]() - We will now turn to word art. Word art
is just fancy lettering used for titles and eye capturing text.
- We will now turn to word art. Word art
is just fancy lettering used for titles and eye capturing text.
Click on the word art button and create a word art frame
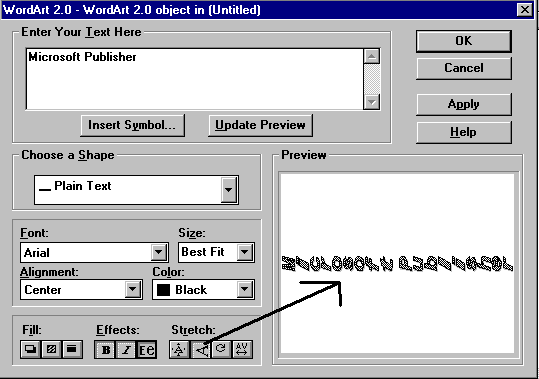
If you are using an older version of Microsoft Publisher, you will have this WordArt screen:
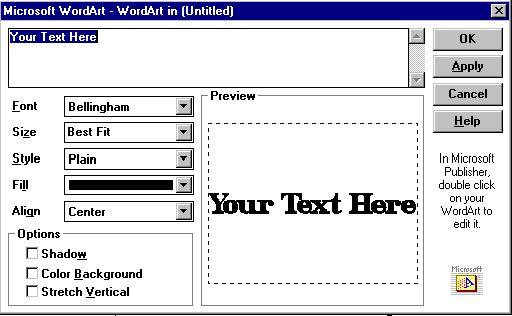
Here, you can enter in your text, choose the style, text color, font, text size, alignment, add a shadow, color background and stretch the words vertically so that they fill up the entire word art frame.
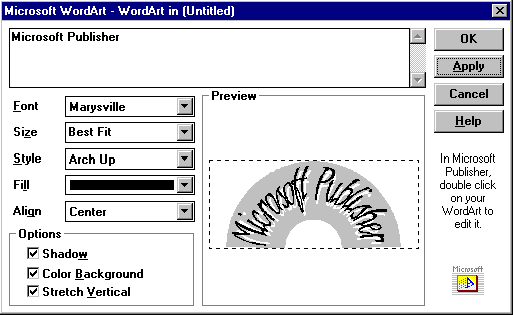
When you are done with your word art, click on "OK". Here is a sample word art:

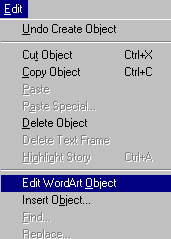
To edit your word art, choose "Edit Wordart Object" from the "Edit" menu, while the word art frame is selected.
You can also add a shadow, shading or border through the "Layout" menu or by
choosing the appropriate menu buttons.
If you have a newer version of Publisher, then your word art screen will look as follows:
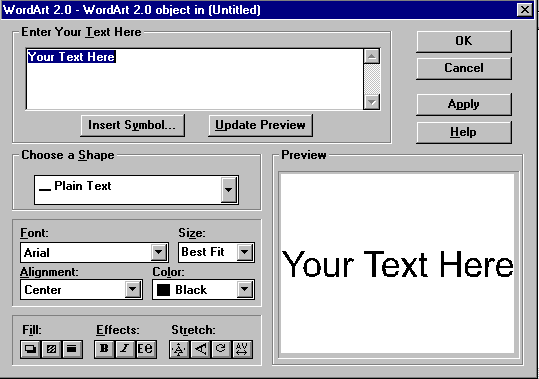
Here too, you can enter in your text, choose the font, size, text color and alignment as well as bold, italic, shadow, shading, border and some fancy stretching. The style menu is now replaced with a shape menu where you can choose from many different patterns to which your text will be fitted:
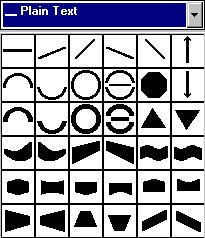
The shadow menu also has some newer and better shadowing as well as a color choice:

The shading menu is the same menu as before:
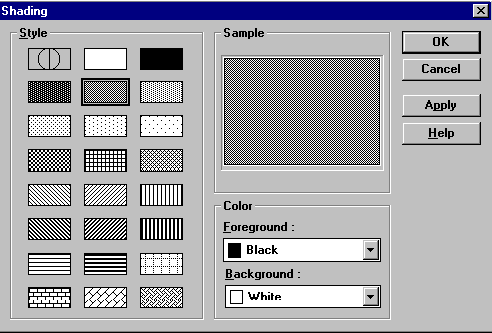
The border menu is as follows:
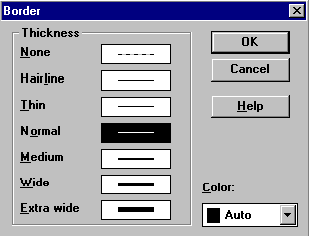
Shown in the next picture is the first stretch option, which stretches the text in all directions:
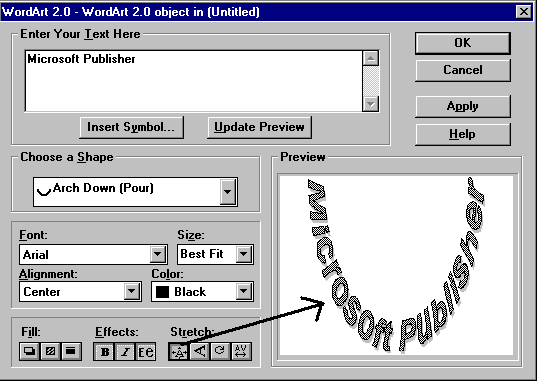
Below is shown the second stretch option, which places the text lined up on its back:
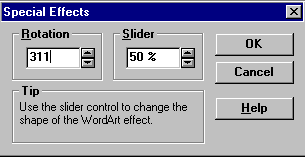
The rotating button, ![]() allows you to
rotate your text from the following menu:
allows you to
rotate your text from the following menu:
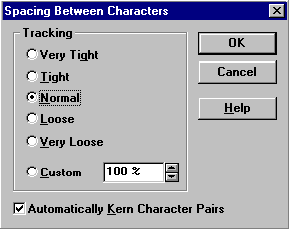
The spacing between characters button, ![]() allows you to choose how compact and tight the characters in your text are or how loose
and spread out they are:
allows you to choose how compact and tight the characters in your text are or how loose
and spread out they are:
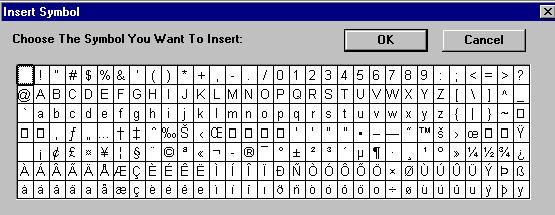
You can also insert special symbols by clicking on this button:![]() . This will then bring up this menu, where you click on which
symbol you want to insert and then click on "OK":
. This will then bring up this menu, where you click on which
symbol you want to insert and then click on "OK":
![]() - The next four buttons on the button
menu are for drawing geometric shapes on your document page such as in the next picture:
- The next four buttons on the button
menu are for drawing geometric shapes on your document page such as in the next picture:
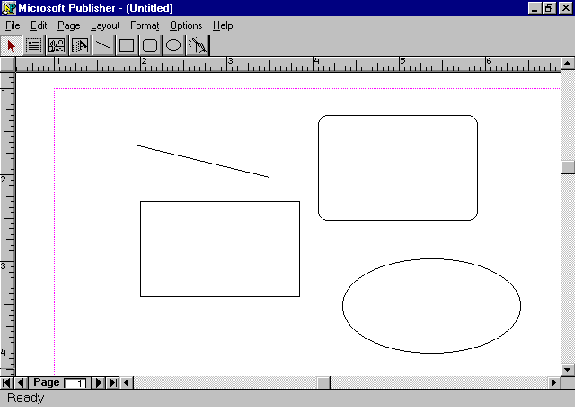
You can edit individual geometric objects as well as frames by selecting/clicking on the frame or object and then performing your editing task. You can also edit a few objects at once by using your standard mouse pointer and dragging a frame around the objects and frames you want to choose and when you are done, let go of the mouse button. The selected objects will then have a gray box around them:
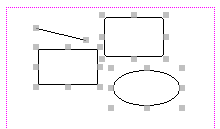
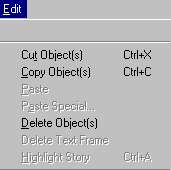
You can then perform the editing task either with your keyboard or from the edit menu, where you can delete the objects, copy and paste the objects or cut the objects (same as deleting them) or you can move all the objects uniformly at once and the same amount by dragging them using your mouse.
![]() - The page wizard button allows you to
place special types of objects into your document. First click on this box and then drag a
frame on your page as done with any other object. Once done and you let go of the mouse
button, you will get the following screen:
- The page wizard button allows you to
place special types of objects into your document. First click on this box and then drag a
frame on your page as done with any other object. Once done and you let go of the mouse
button, you will get the following screen:

From here, select which type of object you want to insert and then select
"OK". You will then be led through a number of automated steps and questions,
after which Publisher will create your object for you in your page wizard frame.
We will now turn to the topic of overlapping frames. Say you have two text frames not-overlapping and you want to add a clipart frame behind the two text frames as shown:
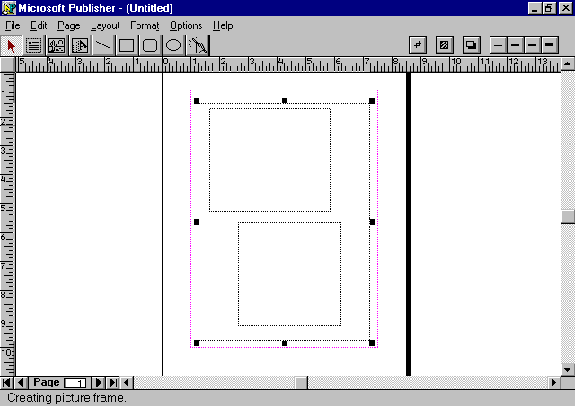
You then import a graphic from the file menu and your screen now looks like this, without the text frames visible:
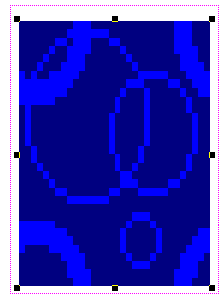
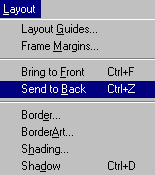
To send the clipart frame behind the text frames, so that the text frames are in front and visible, choose "Send to Back" from the Layout menu, while the clipart frame is selected.
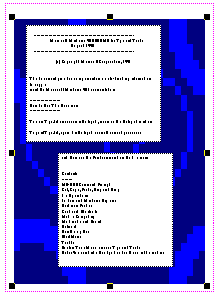
Your page will then look as follows:
You can also send an object to the front of another object by choosing "Bring to
Front" from the layout menu.
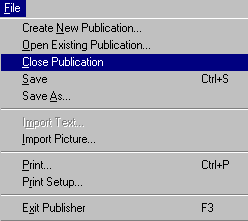
Another utility of Microsoft Publisher is the ability to close a document so that you can create or open another document- Publisher can only have one file open at a time. This can be done from the File menu and by choosing "Close Publication":
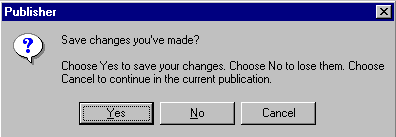
If you haven't saved your current document that you have worked on or changed the document in any way, then you will get a similar warning, where you should choose whether to save the document or discard it or cancel the closing procedure:
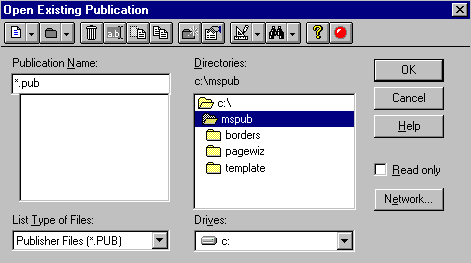
From the File menu you can also open a document. Here you can only open Microsoft Publisher documents. Publisher documents end with the file type .pub
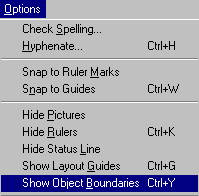
From the Options menu are available some other utilities. This includes the ability to show and hide pictures, the rulers, status/message line as well as the layout guide (the red frame) and object boundaries (the dotted lines around frames when they aren't selected). If the item currently says "Hide …" then that means that the object is currently visible and can be hidden by clicking on that item.
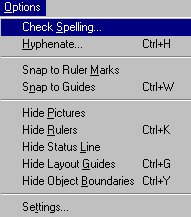
If you hid an object and wish to show it again, return to the "Options" menu and change "Show…" to "Hide…" by clicking on that item.
From the "Page" menu, you can change the viewing size of the screen- from viewing the full page to zooming into the page at 100-200% that of the full page's size.
You can also choose to insert or delete pages from this menu.
To delete the page you are currently viewing, click on "Delete Page" from the "Page" menu.
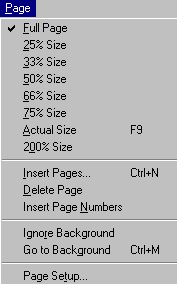
To insert a page or pages, choose "Insert Pages" from the "Pages" menu. You will then get a similar screen:
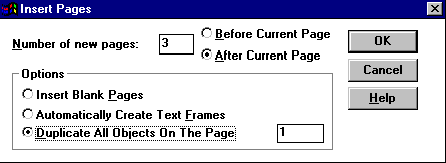
From here, choose how many new pages to be inserted, where they should be inserted and
what should be on them- Publisher can create blank pages, can automatically create text
frames or can duplicate all objects on a specified page onto your new page(s). When you
have chosen your choices, click on "OK".
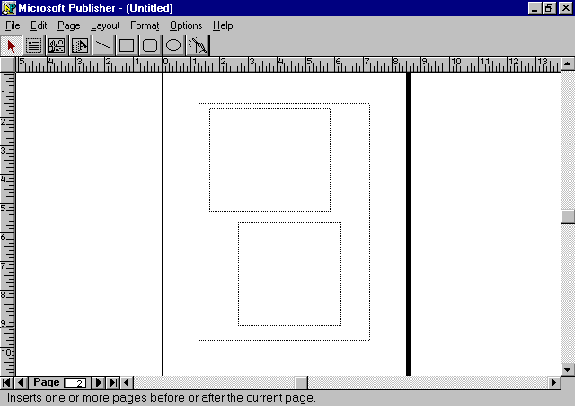
If you choose to "duplicate all objects on the page" from a page which had two text frames and a graphic frame in the back, the new page(s) will have the frames in the proper layout (the graphic frame will be in the back), but the text in the text frames won't be copied and the graphic won't be inserted:
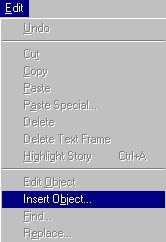
Lastly, you can insert an endless amount of objects into your document from other software applications, through the Edit-Insert Object menu.
You have just completed a lesson dealing with Microsoft Publisher and desk top publishing. Although you have learned many techniques for publishing, it takes many hours of practice to master the art of desktop publishing and truly having a good feeling for programs like Microsoft Publisher- that is why people are paid top money to complete publishing tasks using programs like Microsoft Publisher for you, instead of you having to do it yourself!